Nginx Proxy Manager is a web-based tool for managing Nginx reverse proxies, making it easy to configure and secure access to services on a home or business network. It provides a user-friendly interface to handle common tasks like setting up SSL certificates, adding multiple domain names, and routing traffic to internal services without manually editing Nginx configuration files. Ideal for managing connections to services running on Docker, Nginx Proxy Manager is often used for self-hosted applications and supports Let’s Encrypt for automated SSL/TLS certificates.
If you’d like to use Portainer for your Docker workloads, make sure to check out this article: https://alexmihai.rocks/2024/10/07/install-portainer-to-handle-your-docker-administration/. If not, you can simply use Docker Compose for this, no worries.
Install
Let’s jump straight into the hard stuff, here is the docker-compose.yml file we’ll be using:
services:
  nginx-proxy:
    container_name: nginx-proxy
    image: 'jc21/nginx-proxy-manager:2.12.0'
    restart: unless-stopped
    ports:
      - '80:80'
      - '443:443'
      - '81:81'
    volumes:
      - nginx-data:/data
      - letsencrypt-data:/etc/letsencrypt
    networks:
      - nginx-proxy-network

volumes:
  nginx-data: {}
  letsencrypt-data: {}

networks:
  nginx-proxy-network:
    name: nginx-proxy-network
First a little explanation about the contents and then we’ll look at how to use it.
The file declares a couple of named volumes, nginx-data and letsencrypt-data that map to important folders that you might want to backup occasionally (see this link on how to backup your volumes: https://alexmihai.rocks/2024/10/17/backup-and-restore-docker-volumes/).
It defines a restart policy of restart: unless-stopped, which basically means it restarts on any failure, unless you explicitly stopped it.
In the ports section we define 3 port mappings, which map a port on the container (right side) to the corresponding port on the host machine (left side). 80 and 443, as you might be aware, are the http and https ports. 81 is the port where Nginx Proxy Manager will expose its admin UI that you will access to set up different domains.
In order to actually start it up, you can use one of a couple of ways. I prefer to use Portainer, which I will discuss below, but if you don’t, just put the docker-compose.yml file above in some folder on the machine where you wish to run it on and run the following command from within that folder:
$ docker compose up -d
Now the Portainer way. Log into the Portainer UI and go to Stacks -> Add stack. Give the new stack a name and paste the docker-compose.yml contents in the Web editor section.
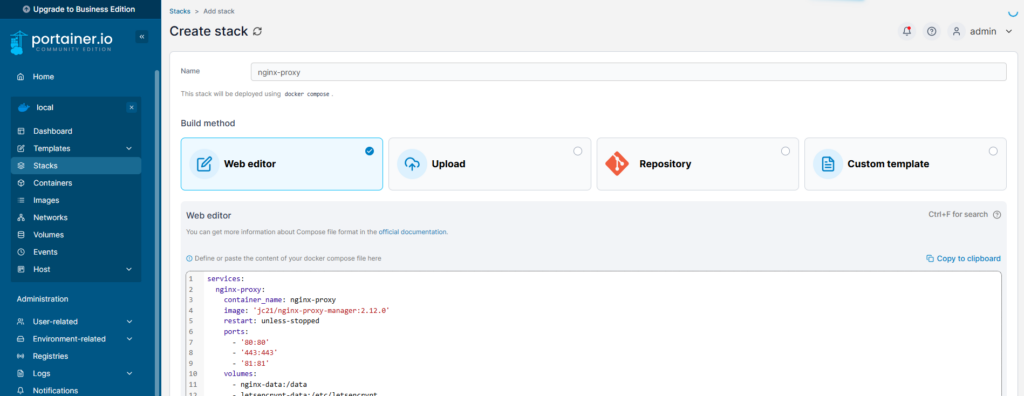
Then scroll to the bottom and click Deploy the stack.
Configuration
Once the stack is deployed, you can access Nginx Proxy Manager at http://<hostname/ip>:81. It will show you a login screen like the one below:
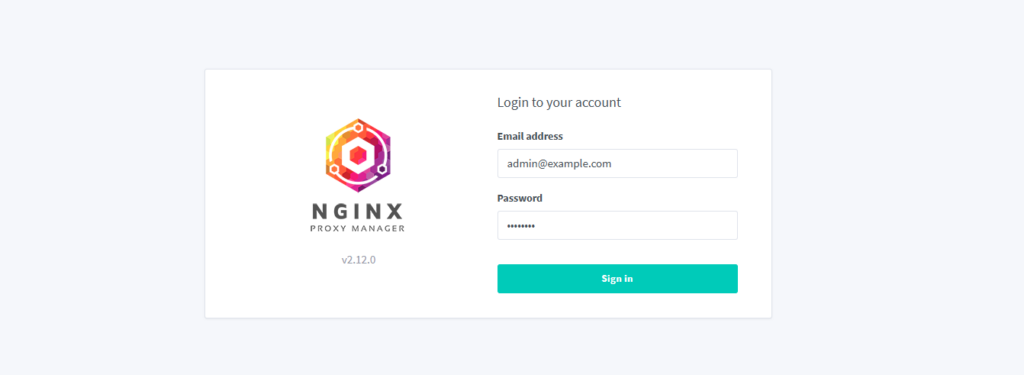
The default credentials are [email protected] / changeme.
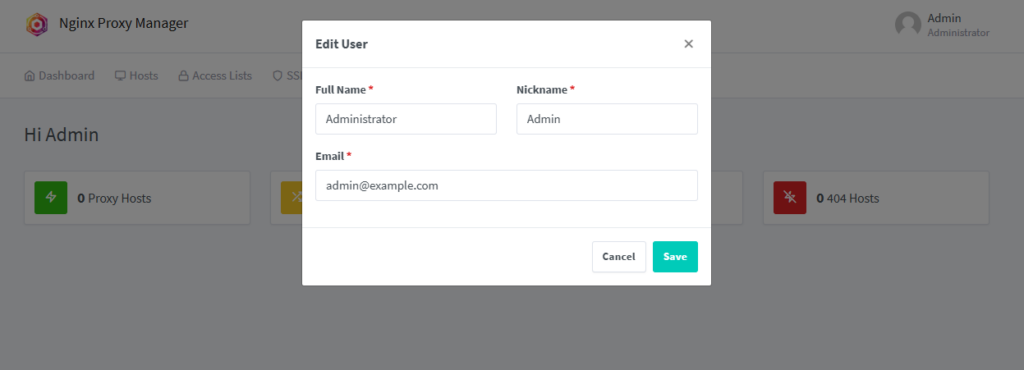
After login it will take you to the Edit User screen, where you must change your email address.
On the next screen you will have to change the password:
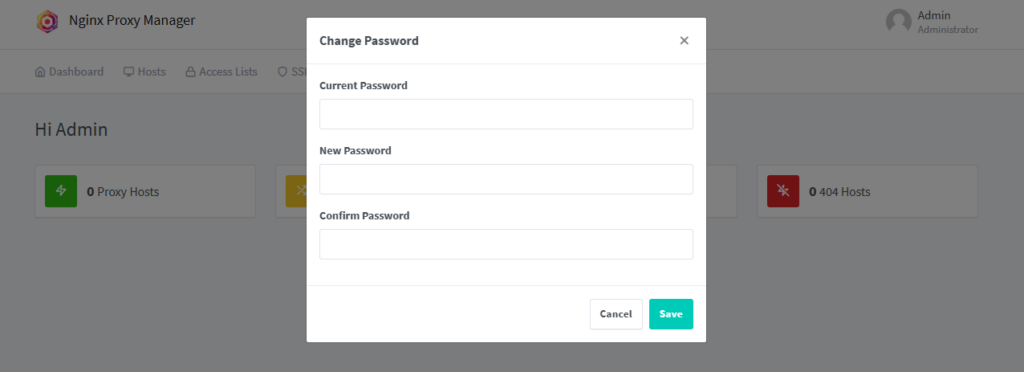
Once you do that, you’re all set.
One extra step you can do now if you want to use Nginx Proxy Manager to serve public websites is to port forward port 443 in your router to the IP of the machine running Nginx Proxy Manager. What would also help with the stability of this setup is for the Nginx Proxy Manager machine to keep its IP between restarts. For this, you can reserve the IP in the router settings. How to do this depends on your own router, but you should find it easily on google.
You can now use it self host your website or some other workloads in your home lab.
Hope this helps, have fun clickity-clacking.
Leave a Reply